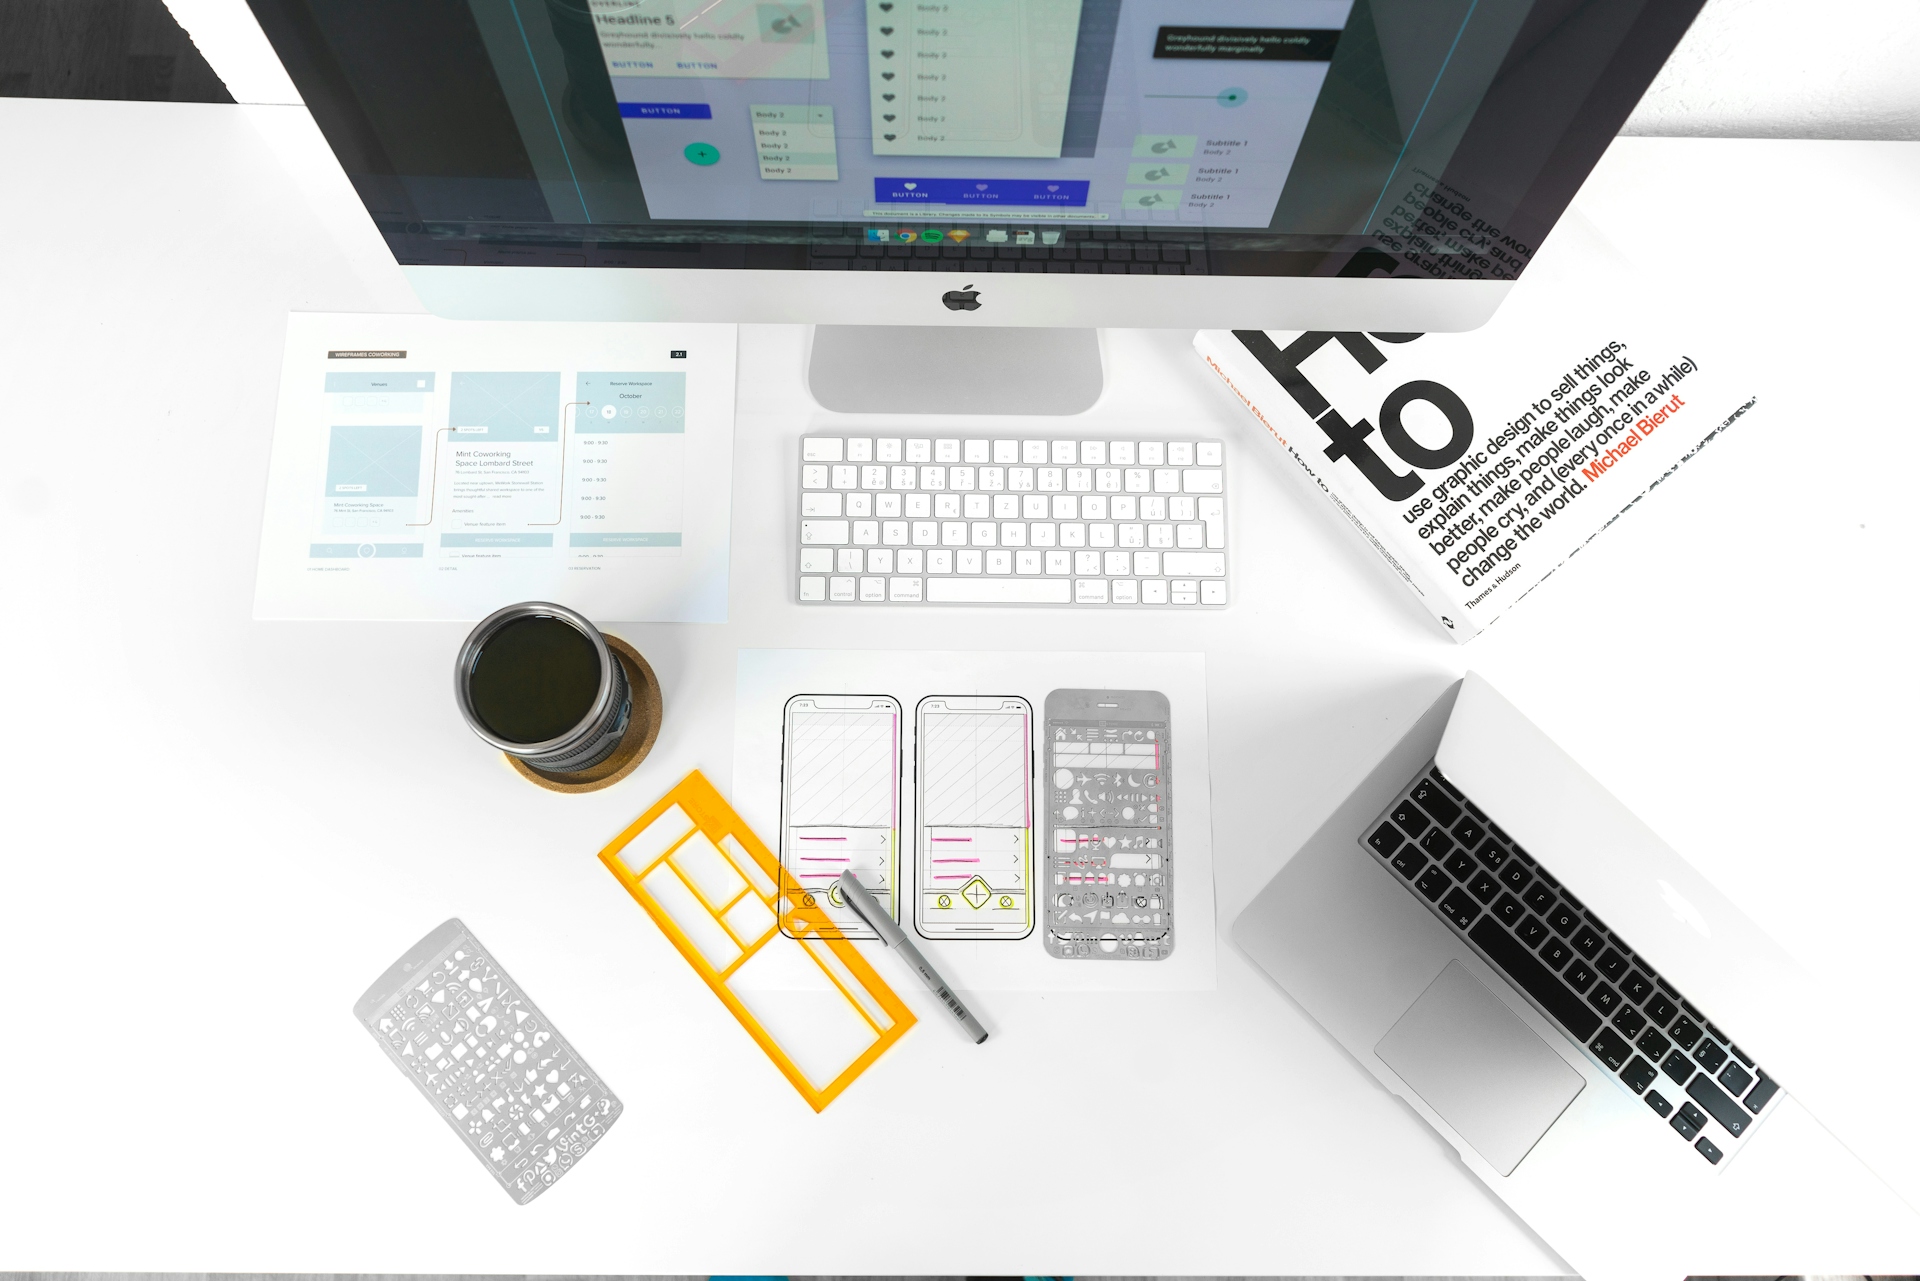
High-Fidelity Vs Low-Fidelity Prototyping: A Guide To Design Fidelity
Designers can’t wait until they have a complete product to start testing their ideas. It would be an immense waste of time, effort, and resources.
That’s one of the reasons prototyping is such a big part of digital design: It gives designers the ability to test their ideas without having to pour resources into building a complete product.
But what about low-fidelity and high-fidelity prototypes? What makes them different? When should they be used? What are the advantages and disadvantages of different levels of fidelity in prototyping?
In this post, we’re taking a look at high-fidelity vs. low-fidelity prototyping and explaining some of the key differences.
What is a Prototype?
In a basic sense, a prototype is a representation of a design. The intent of a prototype is to provide designers with the ability to present and test different elements of a design. Depending on the needs of the team, a prototype can cover just one element of a design or it might be a more complete representation of what the final product will be.
Whether you’re talking about a low-fidelity or high-fidelity prototype, the idea is to create something that can be tested or used to demonstrate some element of the design. It could be a layout, content, interactions, features, functions, or something that is intended to simulate a complete version of the finished product.
Why is Prototyping Important?
What would happen if you had to build a complete product before you could test your designs? You’d spend a lot of time and money building the product, only to find all sorts of issues that need to be addressed. Either that, or you would release the product to users and they would find the problems you failed to detect during the design process.
Prototyping gives a design team the chance to test ideas, detect issues, and refine designs without spending the time or money that would go into building a complete product. From using a UX low-fidelity prototype to test your UX strategy to building more complete prototypes for usability testing, prototyping is critical for developing products that will serve your users well.
Fidelity in Prototyping
Depending on the goals of the team and the stage of development, designers might choose to use different prototyping methods. The fidelity of a prototype refers to how closely it represents the design team’s idea of the finished product. Prototype fidelity can vary in content, function, and visual design.
Low-fidelity prototypes are less like the finished product, and high-fidelity prototypes generally try to represent the finished product as closely as possible. Designers will determine the fidelity of a prototype depending on the design stage and the questions they’re trying to answer.
Low-Fidelity Prototyping
Low-fidelity prototypes are the simplest prototypes. They’re more commonly used in the earlier design stages when testing and refining the basic ideas of a design.
Some of the key advantages of low-fidelity prototypes are that they’re inexpensive to create and easy to adapt on the fly. In many cases, low-fidelity prototypes will be representations of UI screens sketched on paper. This type of testing can be valuable for rapid prototyping.
One of the key advantages of low-fidelity prototypes over high-fidelity prototypes is that the simplicity makes it possible to adjust as you get feedback. If a design team is just using paper sketches or wireframes to prototype, they can get feedback and make changes in a matter of minutes or hours. This makes it possible to test, refine, and retest quickly.
As a disadvantage, low-fidelity testing is not like using a real product. Users might not behave the same way they would with prototypes that seem more like the finished product. As opposed to high-fidelity prototypes, testers might also have trouble visualizing the way the simple prototype translates to the finished product. Testing with low-fidelity prototypes will usually require a little more explaining and guidance from the design team.
High-Fidelity Prototyping
High-fidelity prototypes try to capture something closer to the finished product. It doesn’t have to be an early version of the product, but it should be a close representation of look and function. These can be created with prototyping software that will simulate the look, feel, and function of the product or it can be a native coded prototype.
The key advantage of a high-fidelity prototype is that it will be something very close to the finished product. With something that seems like a real app, testers will be more likely to behave as if they are using a real app. In most cases, testers won’t need as much guidance or explanation to perform the tests.
A high-fidelity prototype can also allow for testing that is deeper and more complex. As an example, if users will need to follow a multi-step process to achieve a goal, a high-fidelity prototype can be used to test the flow of that process.
As for disadvantages, high-fidelity prototyping tends to cost more and take more time. This is especially true if the design team is working with a native prototype. High-fidelity prototypes are also less flexible. Design teams can’t just take feedback and make quick changes to test adjustments to the design.
Both low-fidelity and high-fidelity prototypes should be a part of the design process. While one tends to be more valuable early in the design process and the other tends to offer more value at later stages, they can both offer insights that will help design teams create better products.
